Every lighting TD has been given a shot to light with no lighting reference or information from set to help determine the illumination before, this is the fun part of our job right? Not to producers, man-days go up and profit goes down. VFX supervisors also generally like when the most accurate onset data can be used to facilitate accuracy in the work, to provide a solid realistic base before spicing it up with creative notes. As my first experiment with machine learning, I decided to see if I could reverse engineer onset lighting from a photograph in the form of an HDRI using supervised learning.
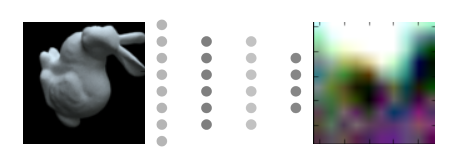
The idea with supervised learning, is that given enough examples of what Y (HDRI) should look like with a corresponding X (plate), learn to predict Y with only X. When setting up an experiment like this it’s important to quickly prove that the idea can work before spending too much time on it, so the idea of spending months running around town taking photos and then corresponding HDRIs to go with them went out the window quickly. But I thought, maybe I could artificially generate the samples, all I’d need is a way to create an image with random shapes, and random lighting. After a couple hours of scripting in Maya, I had a for loop spitting out automatically generated X and Y pairs, in this case, a 100×100 image of a random blob, and then a 10×10 image representing the HDRI env dome.

One constraint I decided on during the sample setup, was that the HDRI probe would always be oriented in camera space as opposed to the world. The reason is that otherwise, the network would also have to predict the orientation of the camera to the scene before being able to determine the world space lighting environment, making training considerably harder. Since camera space is what ultimately matters for your final render, nothing important could really be lost by doing this.
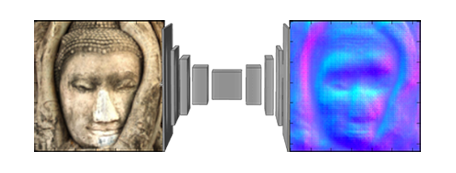
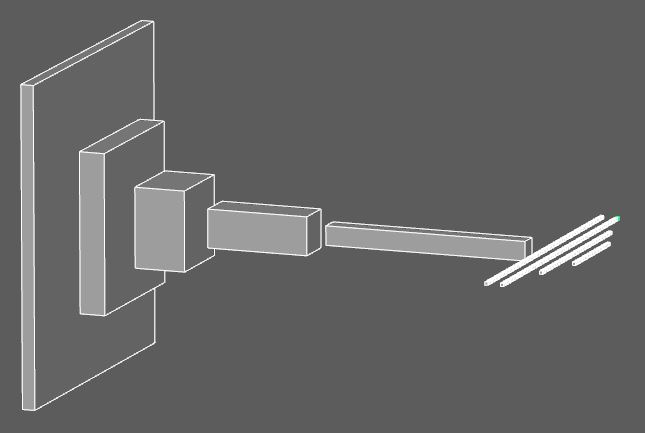
Now with the problem properly framed, the next part was easier, pick a network architecture and start tuning parameters. Based on some early papers I’d read about image segmentation, I decided to go with a convolutional network with a couple of dense layers at the end(now encoder-decoder is more popular). The output would have no activation so that it would be linear, and 300 neurons, so that it could be turned back into the 10x10x3 array needed to represent the color image output in Keras.
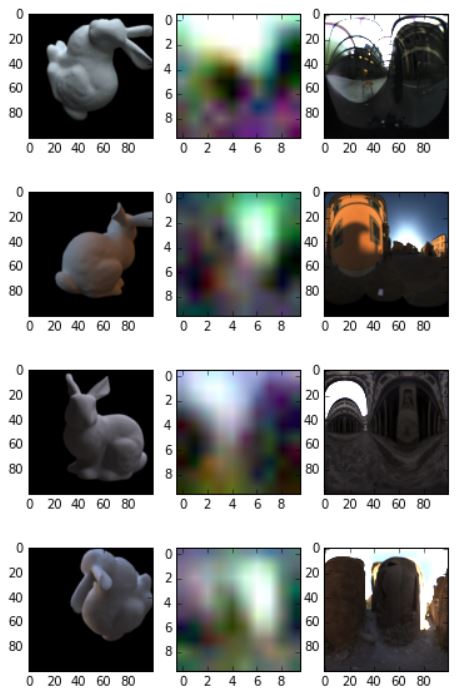
After testing with this setup for a couple days pushing the accuracy higher and higher, I decided to run some tests on the trained network. To see how accurate it was from a visual standpoint, I made a quick test scene in Maya where I plugged in some HDRIs from Paul Debevec’s website and the sIBL archive, then rendered the Standford bunny from a couple of random angles. I fed the image of the bunny to the network and asked it to generate a prediction and then compared the result to the actual HDRI used in Maya. The result is a bit blurry, however, the colors and shapes from the actual HDRI start to show up in the network’s prediction.
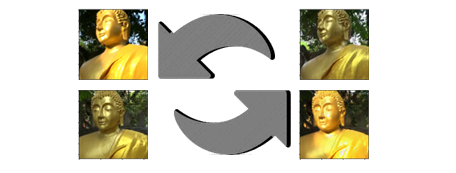
To take the test full circle, I decided to test if I could simply take some photos and a painting, run them through my network, and then render the Stanford bunny using the resulting HDRI.
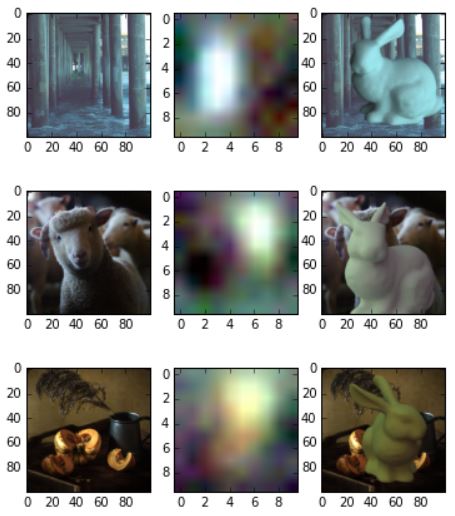
Ok so it’s not perfect, maybe a bit more diffused and front lit then the real photos are. However, from looking at the results of this first experiment, it’s enough to show that the idea can work. Probably with investing a bit more time in making improved training data and trying some different network architectures, something fun could come out of it.
-NeuralVFX

